Joining a new class is always a little scary especially if you're using a new medium and learning new skills. I knew nothing about carving or what to carve - maybe a face? So armed with some family photos for reference, I started with bit of clay, playing around with the idea of making a maquette to work from. But faces are hard! The face didn't work out and gradually, with the help of a bit of plasticine, the idea of a pod emerged instead.
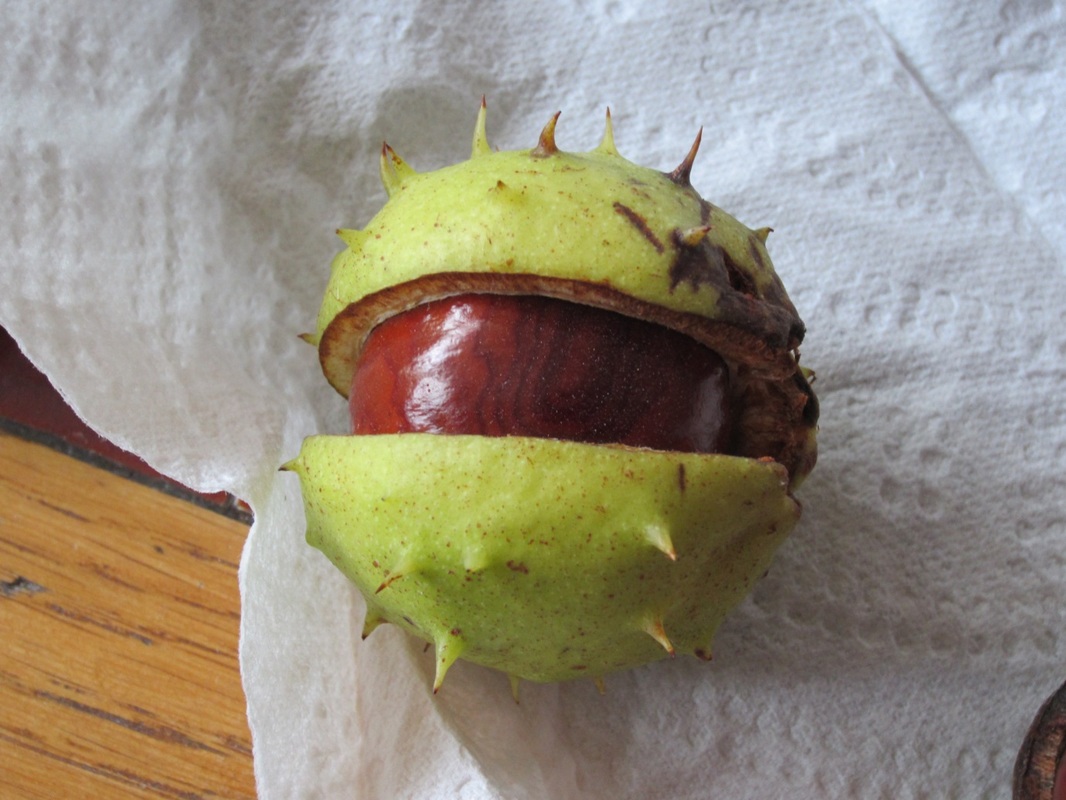
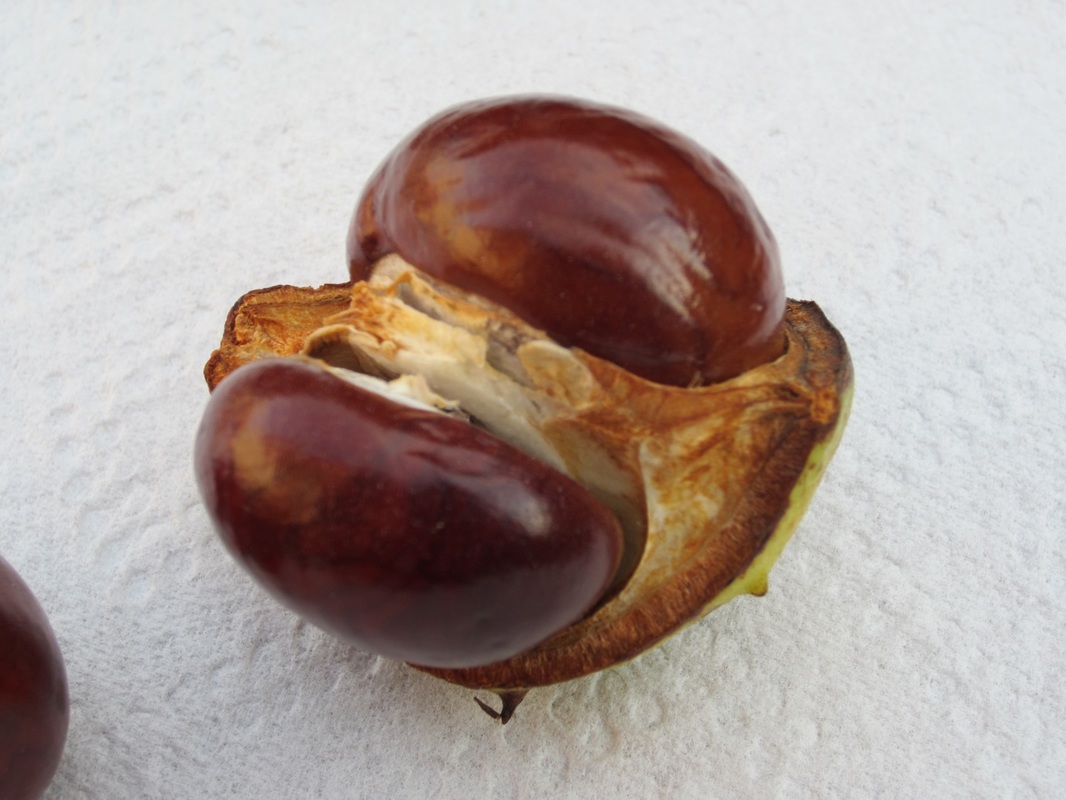
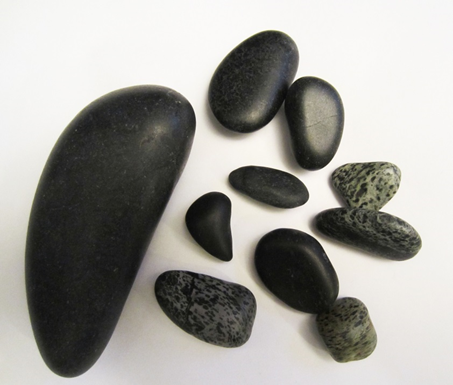
I had some lovely black and variegated Cornish stones which reminded me of seeds, so the idea developed of carving a pod-like shape that they would fit into, like conkers fit into their seed pod. Unfortunately I forgot to photograph the plasticine pod, which subsequently had another, different incarnation, so no record survives, but the alabaster pod which eventually emerged is reasonably close to the original idea, though much more detail was added as the carving progressed and my skills improved.
I had some lovely black and variegated Cornish stones which reminded me of seeds, so the idea developed of carving a pod-like shape that they would fit into, like conkers fit into their seed pod. Unfortunately I forgot to photograph the plasticine pod, which subsequently had another, different incarnation, so no record survives, but the alabaster pod which eventually emerged is reasonably close to the original idea, though much more detail was added as the carving progressed and my skills improved.
 |  |  |
There were all these new tools to get used to: a carver's chops (wooden carving vice) to hold the alabaster firmly, rasps to roughly shape it, then chisels and gouges to hollow out the recesses where the 'seeds' would sit and to add texture to the outside of the pod, and finally riflers for the fine detail.
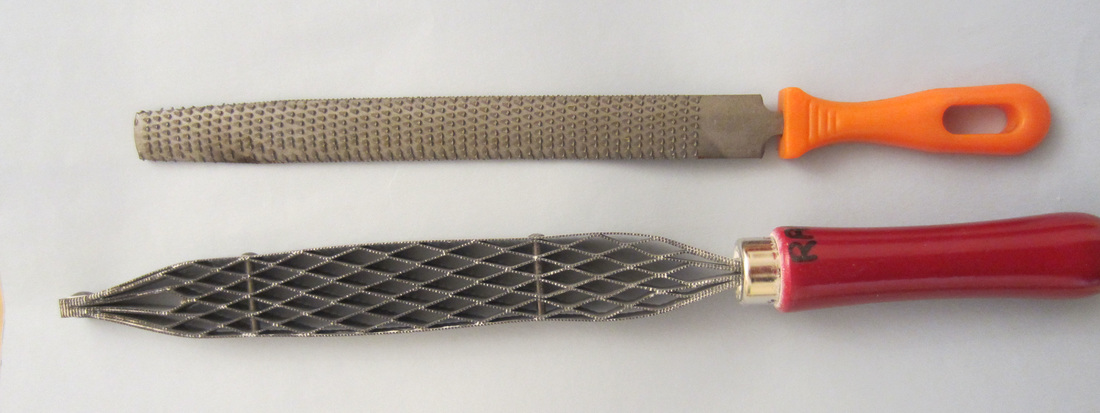 Half round rasp and Shinto rasp (with red handle) | 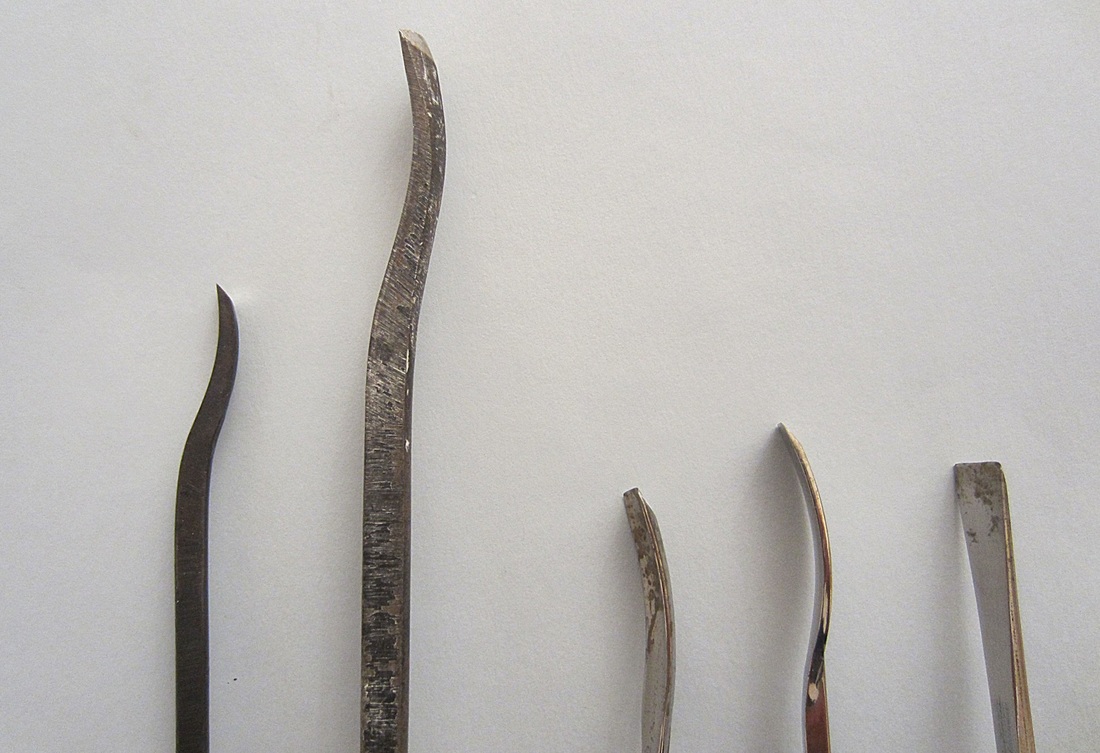 Chisels and gouges | 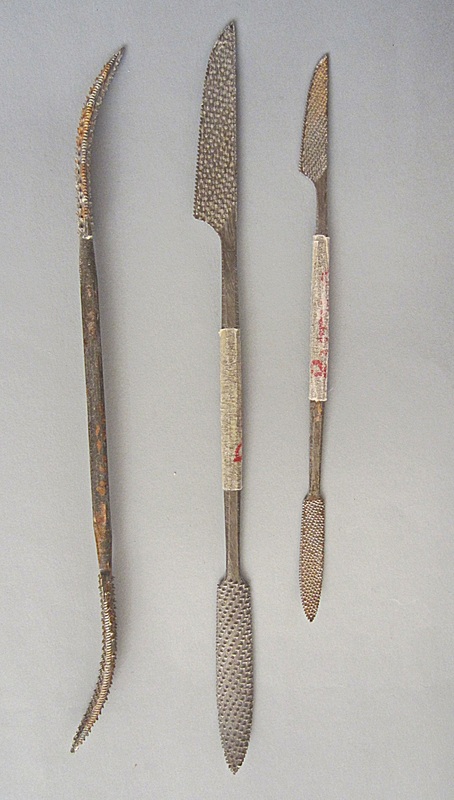 Riflers |
Filing the alabaster into shape generates a lot of dust, so I had to keep spraying it with water to keep that under control, and that turns the powdered alabaster into a paste which rapidly clogs up an ordinary rasp. But the Shinto rasp was brilliant for this as the gaps between the grids meant it didn't clog up nearly as quickly.
 Very early stage of carving | 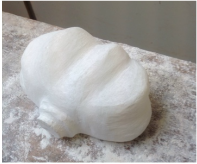 Exterior roughly shaped (photo from Paul's blog) | 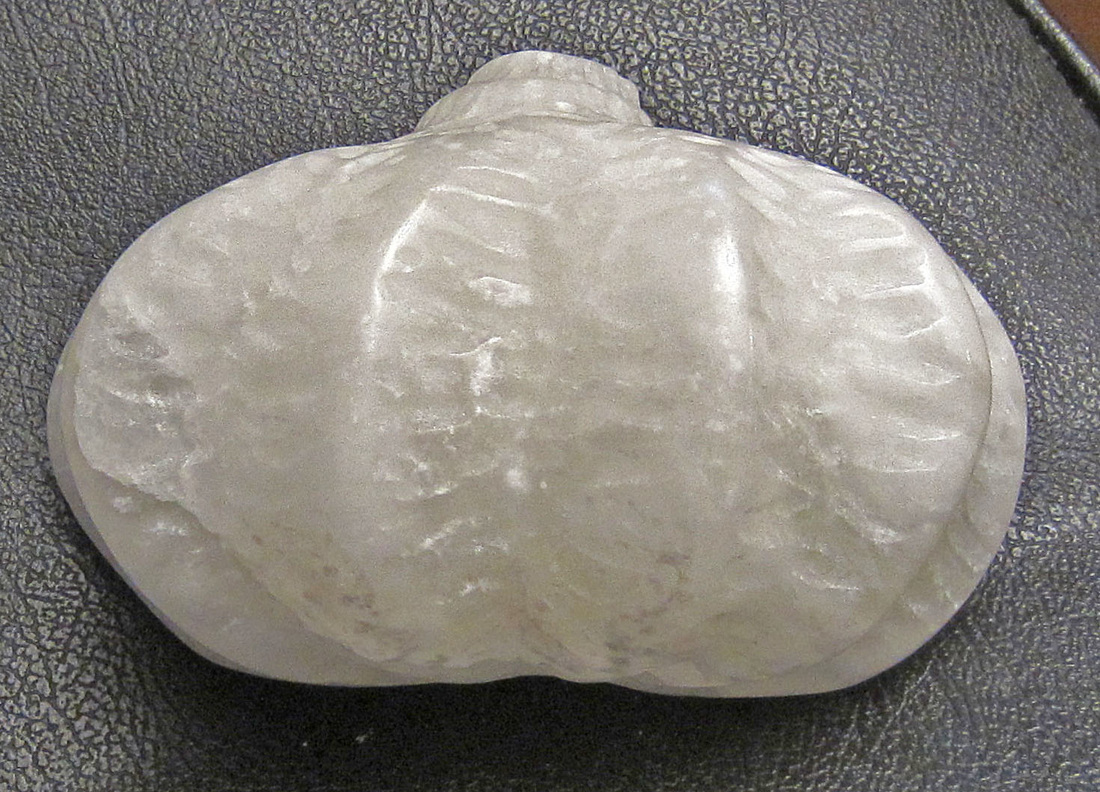 Exterior of pod after texture added and polishing |
When the carving stage was completed, which meant the recesses were the right shape and depth to fit the pebbles I'd chosen, and the exterior was textured, it was time to work through the grades of Wet & Dry paper (from a coarse 120 grit up to a very fine 2000) to smooth the surfaces until they were almost transparent and ready to polish. And then the final stage - waxing and polishing (and a little wax for the pebble 'seeds'), and then finally, my first alabaster carving is finished!
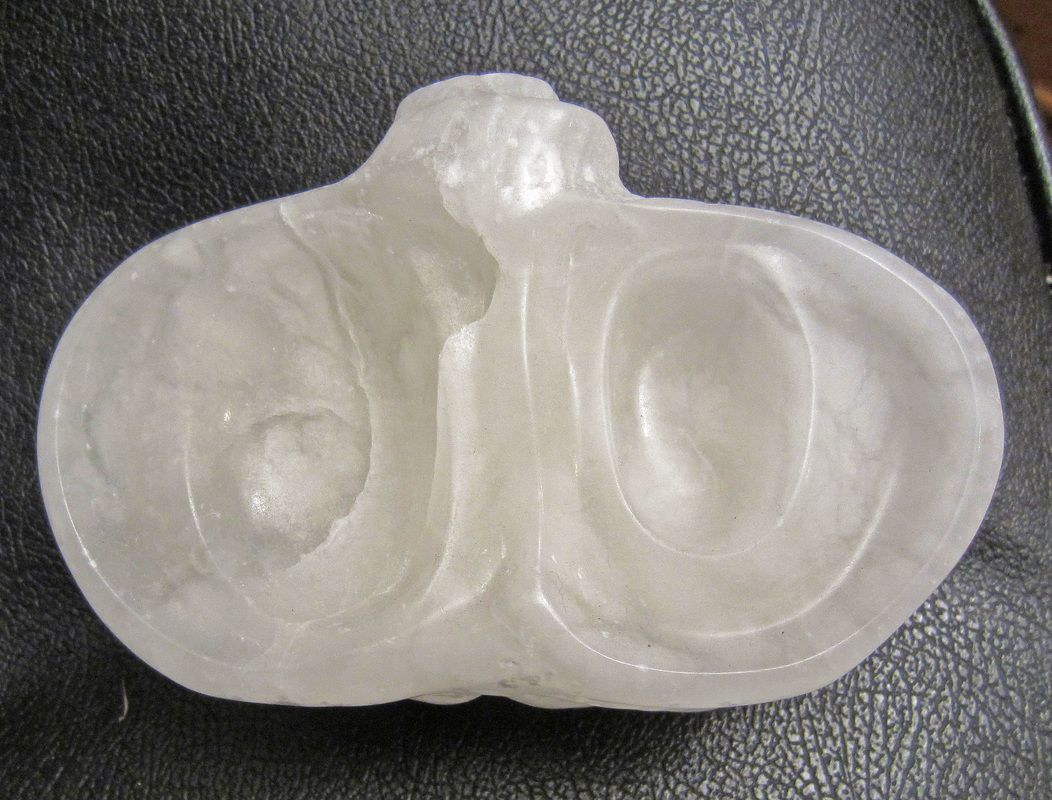 Interior after polishing | 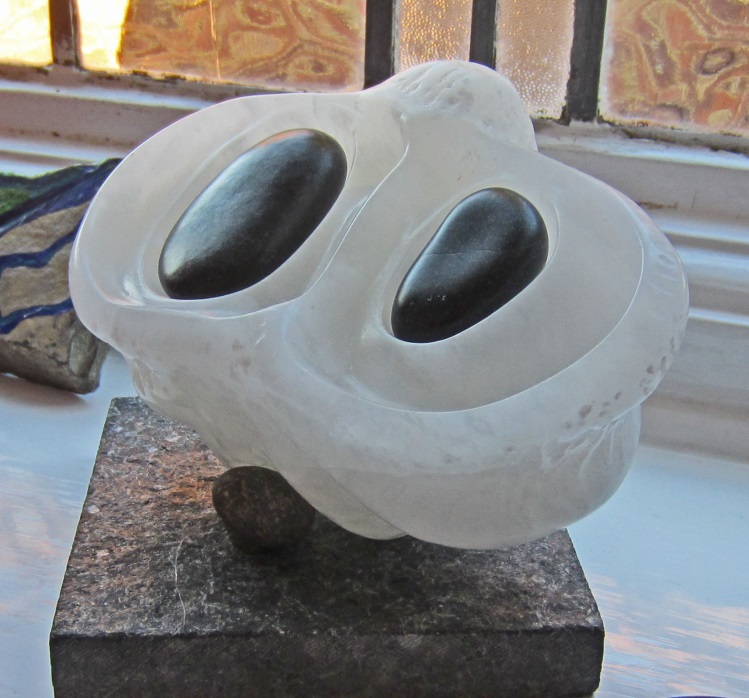 Finished pod complete with 'seeds' | 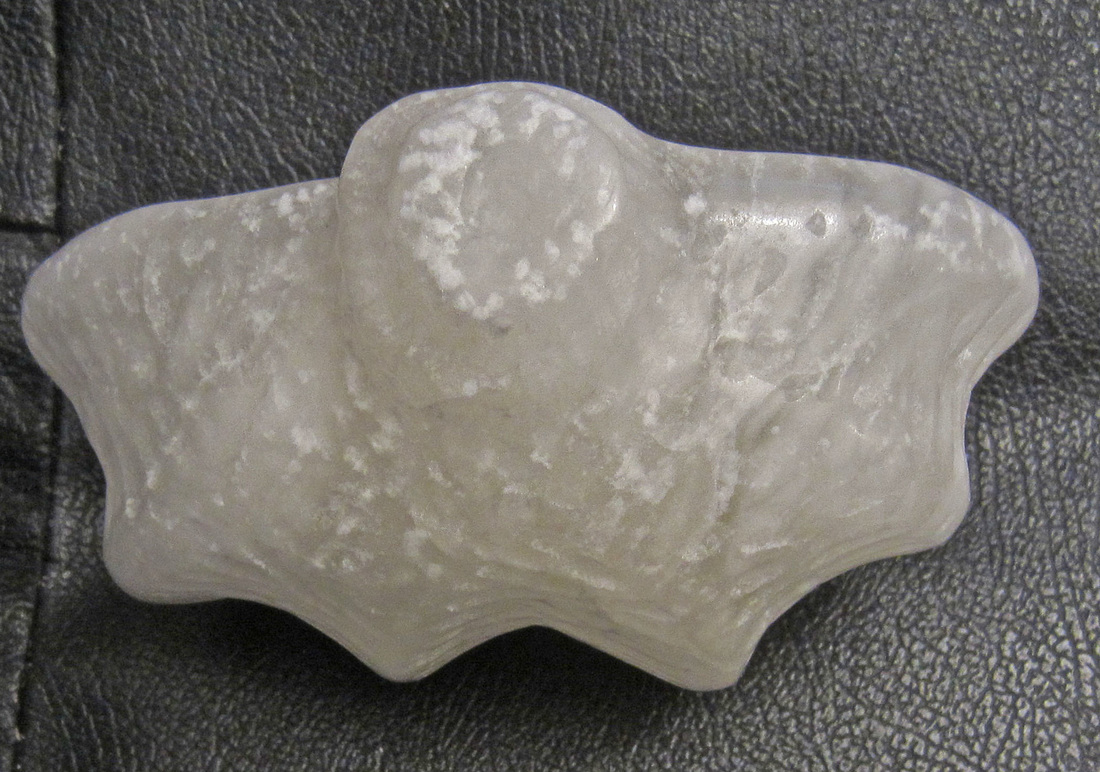 Top of pod with 'stalk' after polishing |
 RSS Feed
