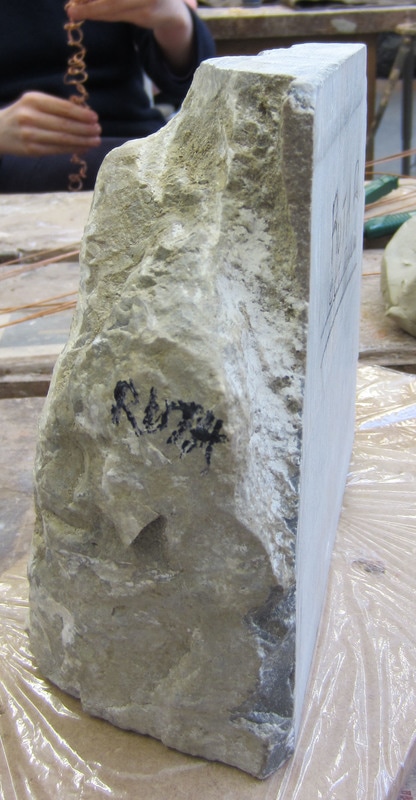
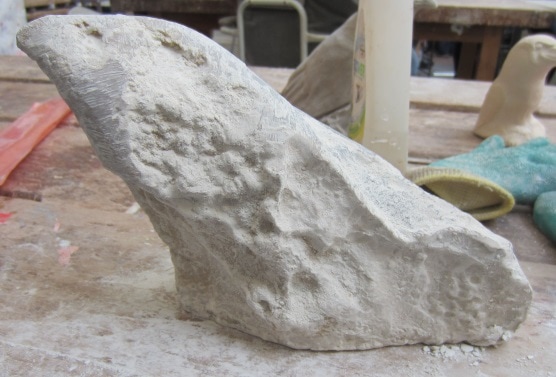
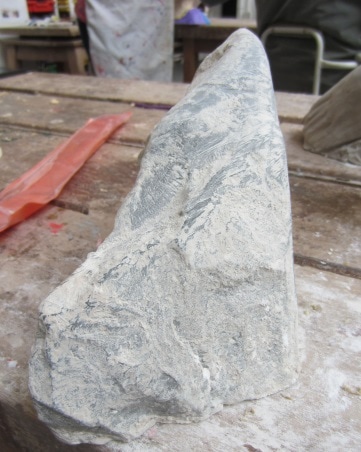
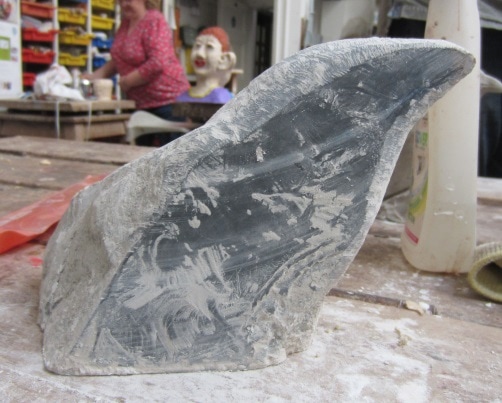
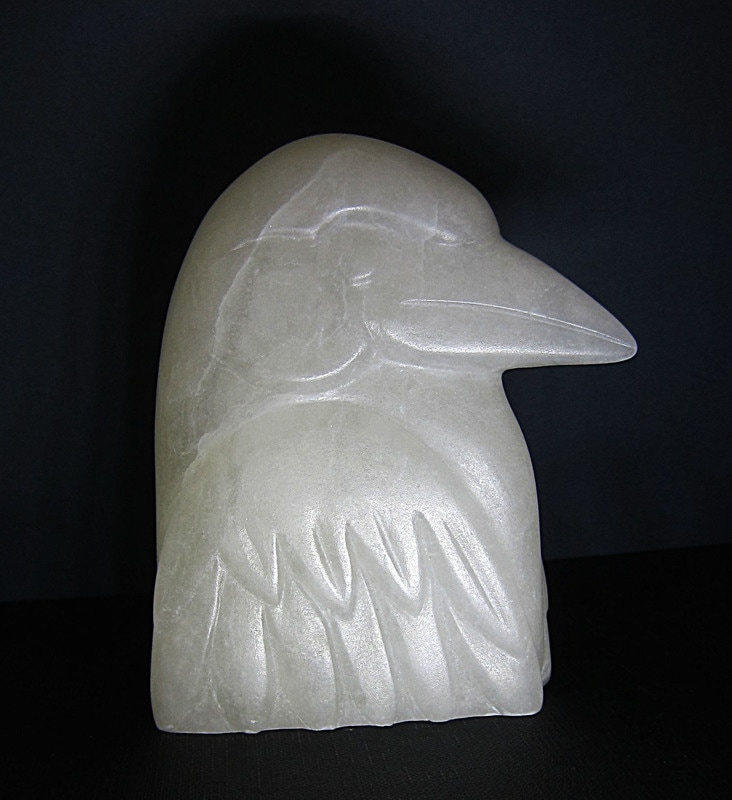
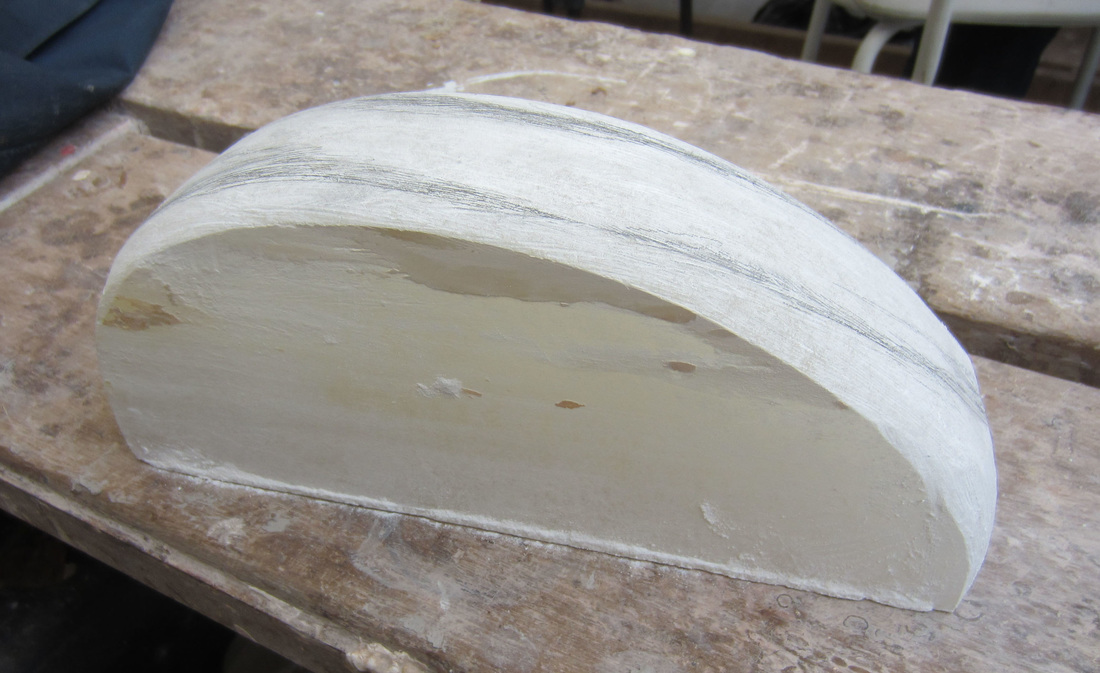
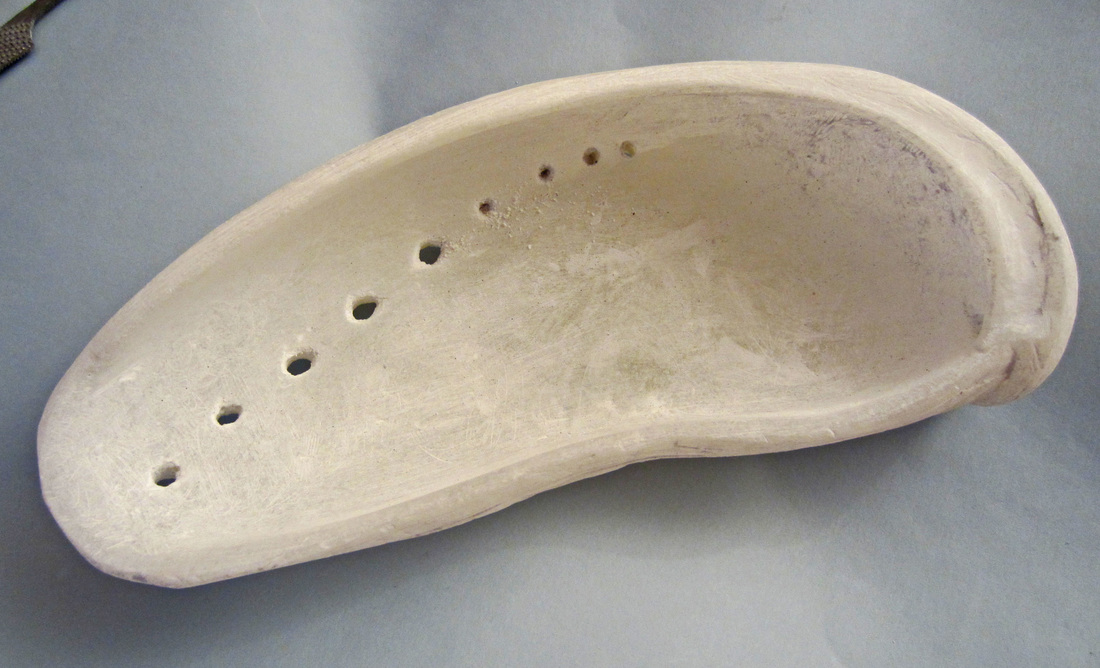
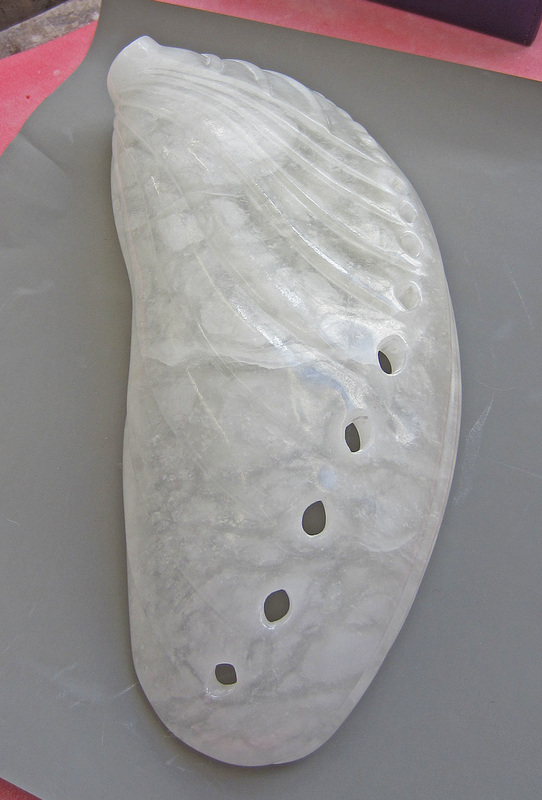
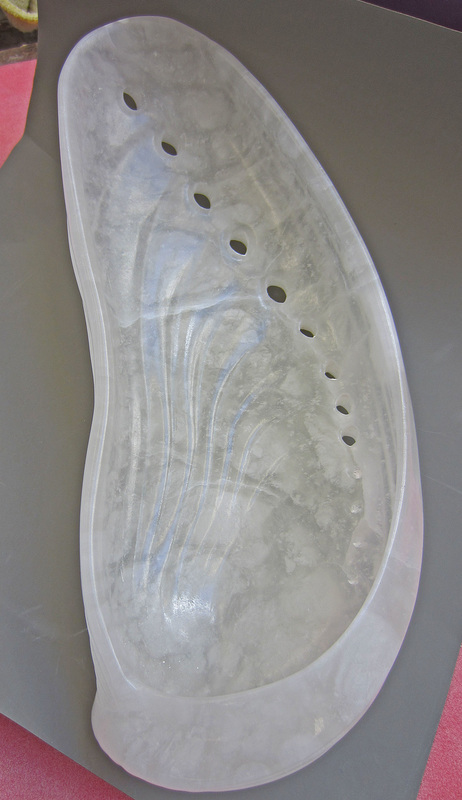
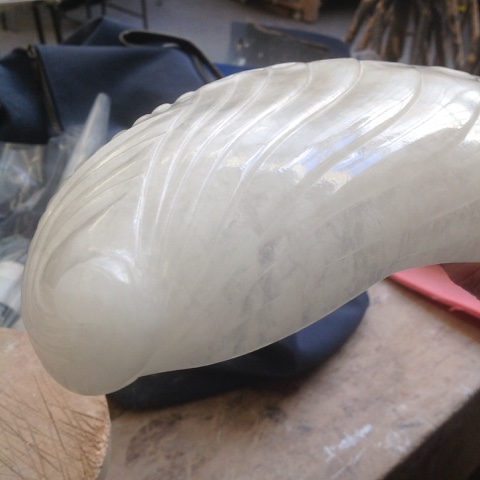
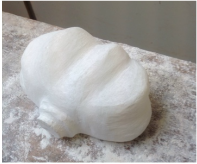
The slab of alabaster I had for this carving was rather narrow, flat on one side and sort of convex on the other, so my first idea was to carve a profile portrait in relief.
 |  |  | 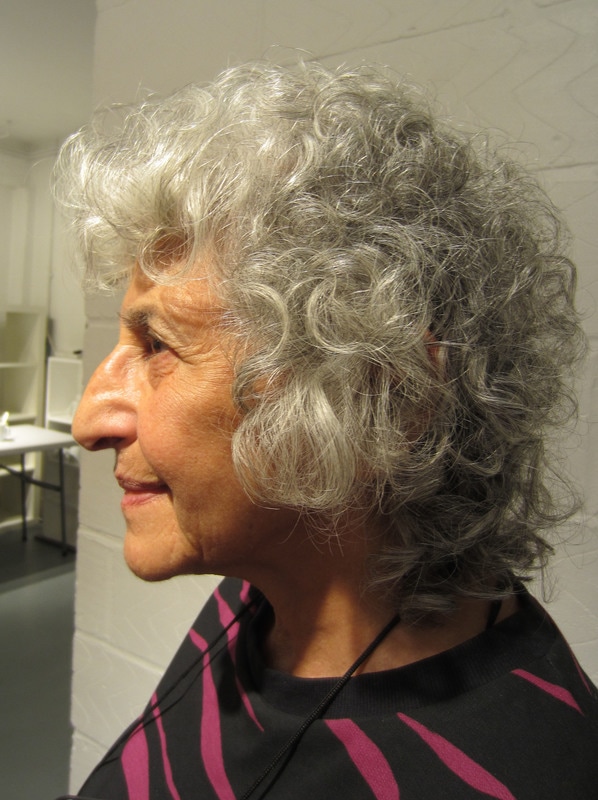 One of several reference photos of my subject |
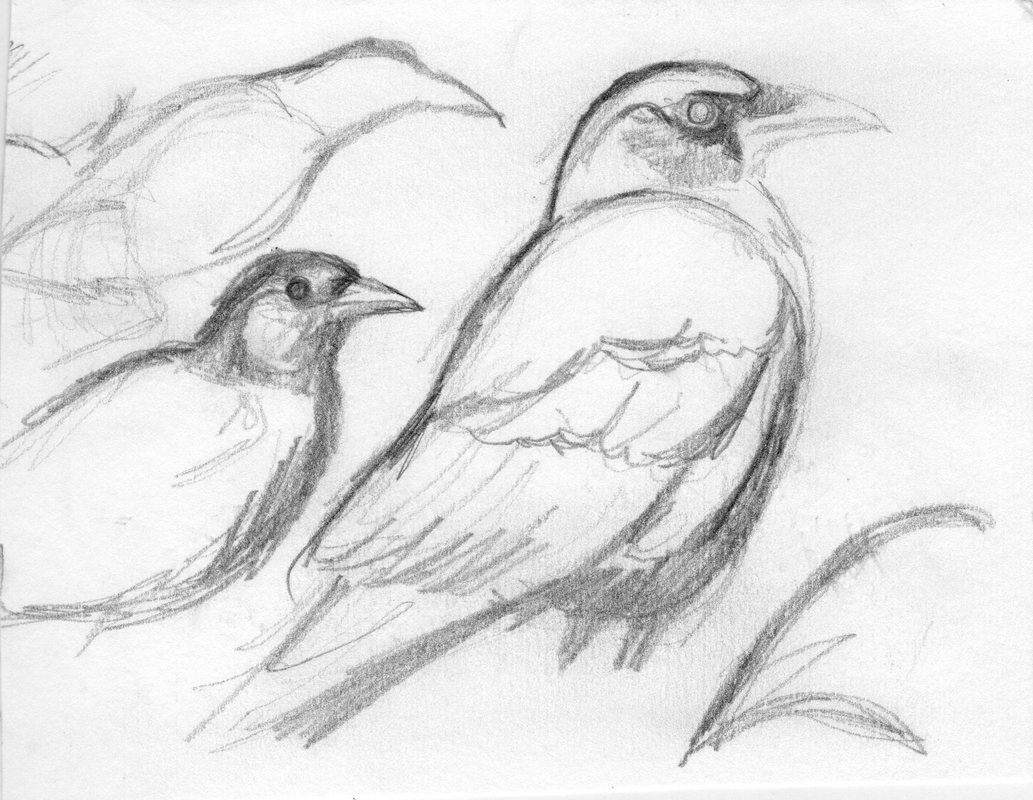
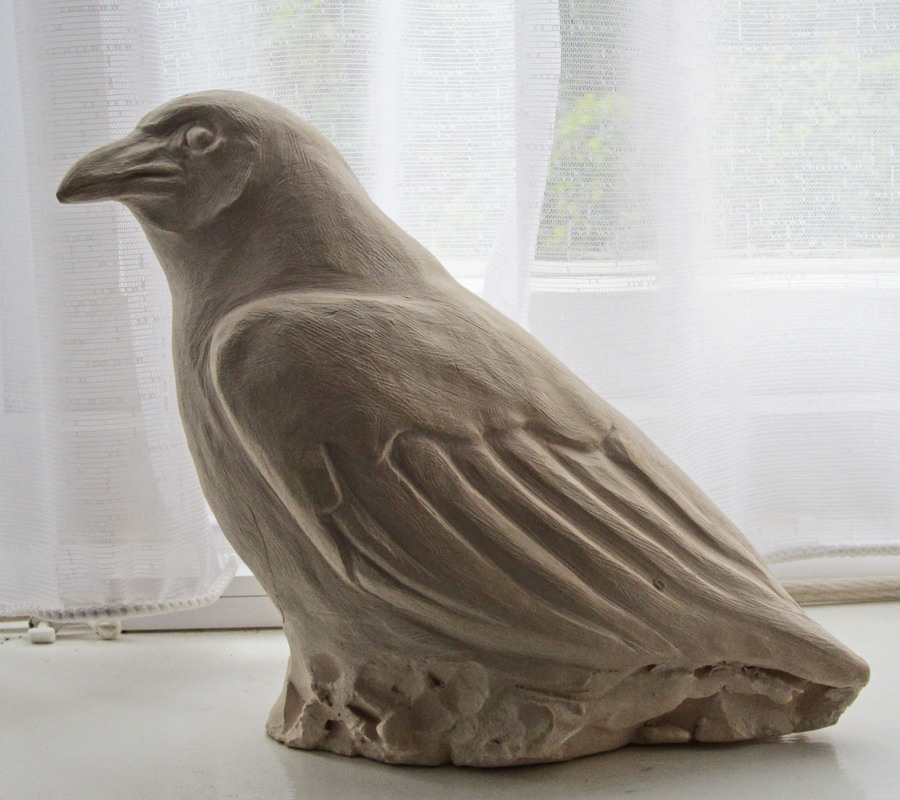
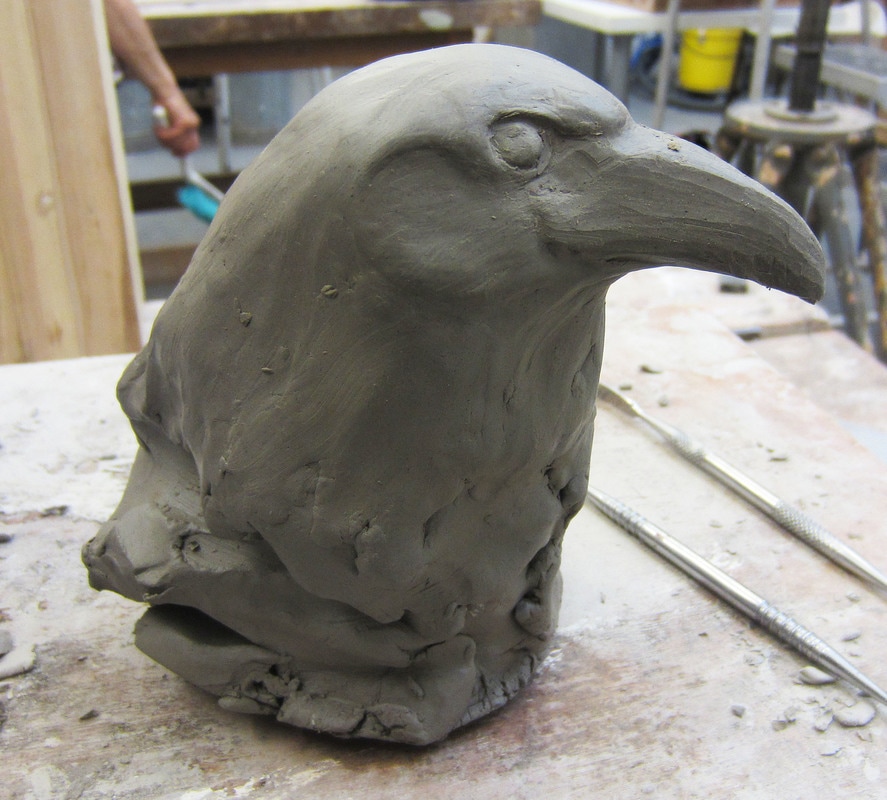
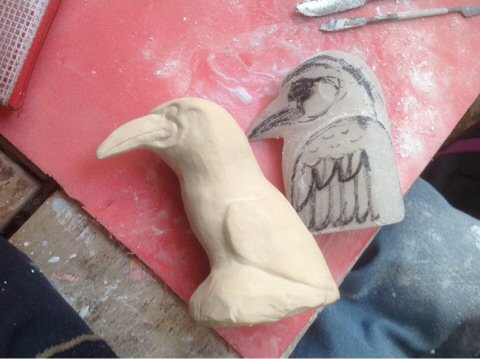
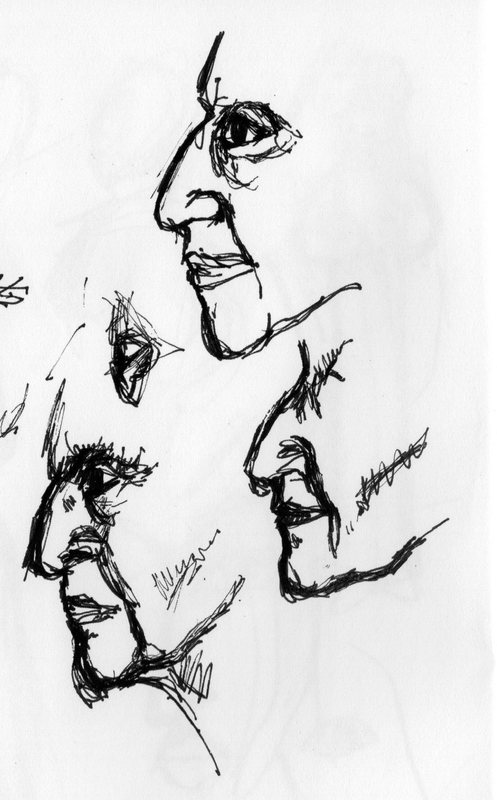 Sketches from photo |  Maquette first attempt | 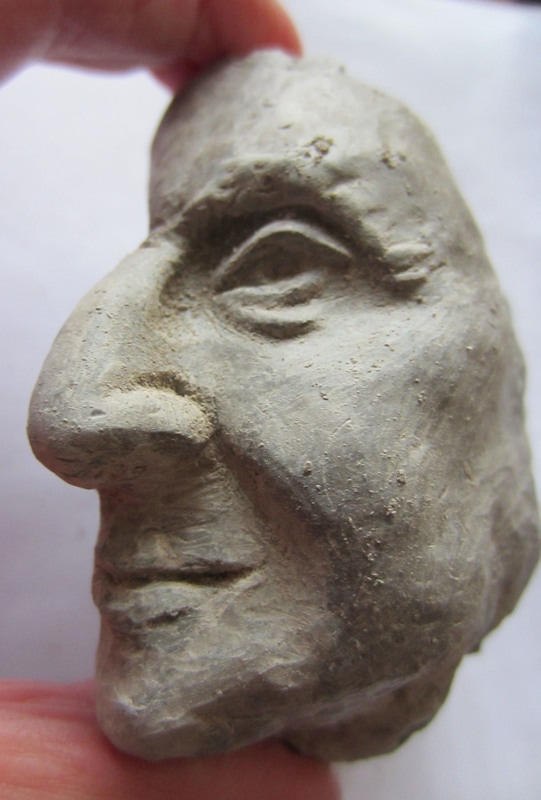 Second maquette side view | 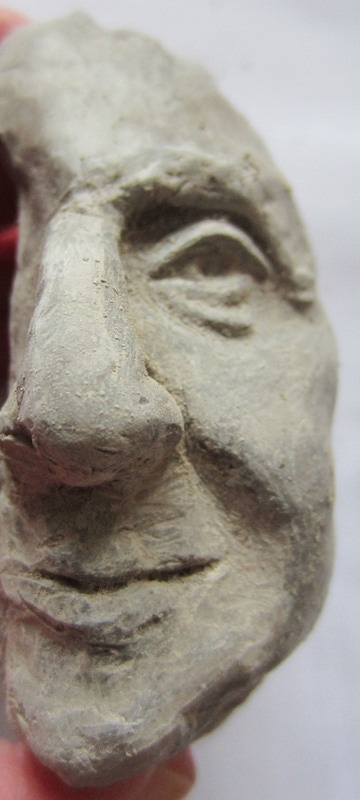 Second maquette front view |
In May 2016 at the Affordable art Fair in Hampstead, I'd seen a couple of sculptures I liked by John Huggins, where the heads were narrow at the front, widening out at the back. Then in late 2016 I saw Picasso's portrait 'Jacqueline with a Yellow Ribbon' (Picasso's Portraits exhibition at the National Portrait Gallery). This is painted on metal, almost flat with one side having just a suggestion of three-dimensional features. I was particularly interested in the way one profile showed the eye full-on as in Egyptian paintings, while the other side was the more anatomically correct side view.
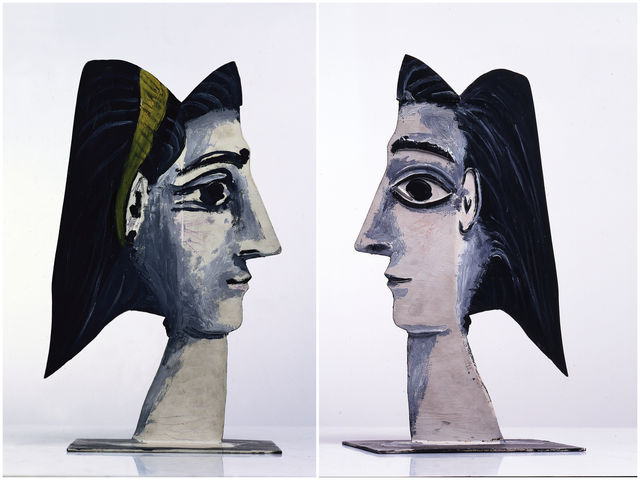 Picasso - Jacqueline with a Yellow Ribbon 1962 | 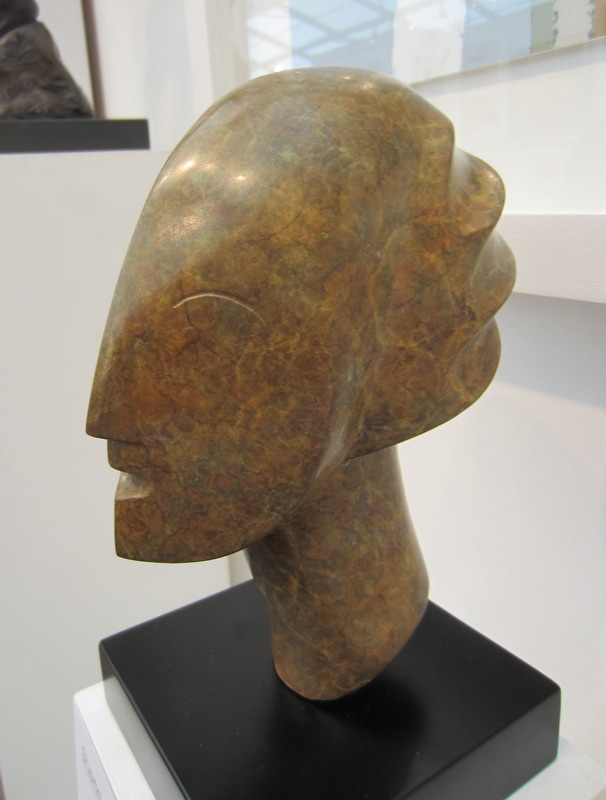 John Huggins - Cabeca (bronze) | 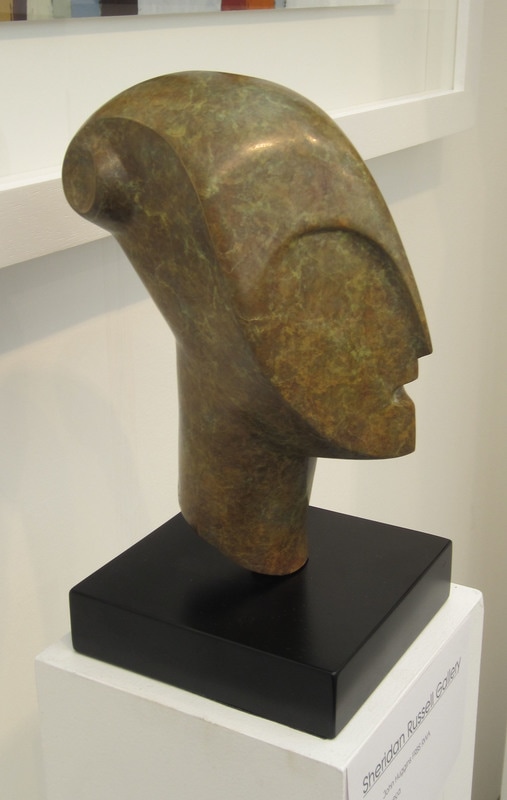 John Huggins - Cabeca (bronze) | 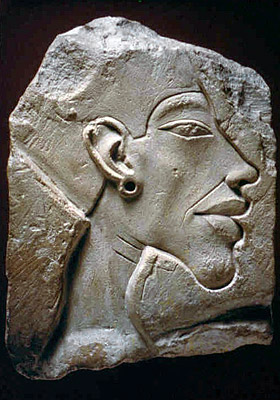 King Akhenaten 1340 BC |
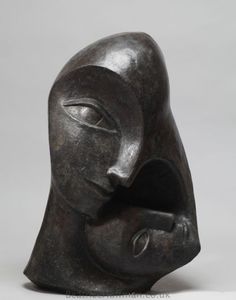 Beatrice Hoffman - Mother & Child | 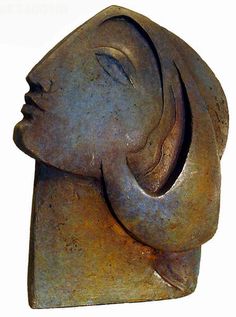 Montserrat Faura - Selene |  Montserrat Faura | 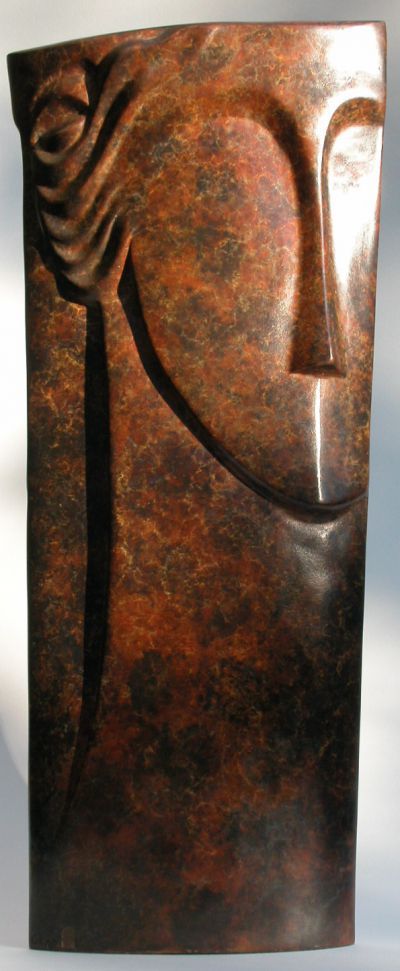 Glynis Owen - Takes Two |
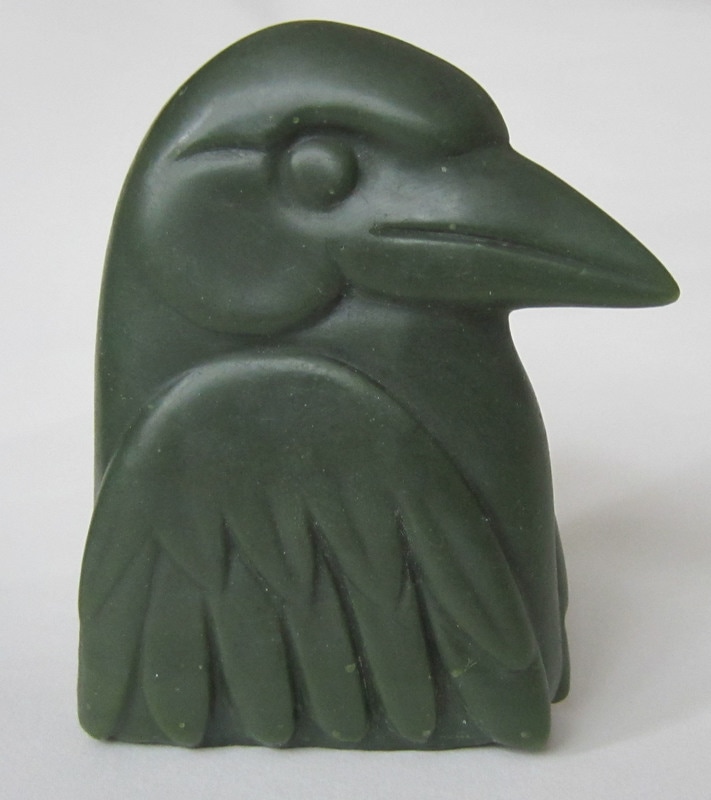
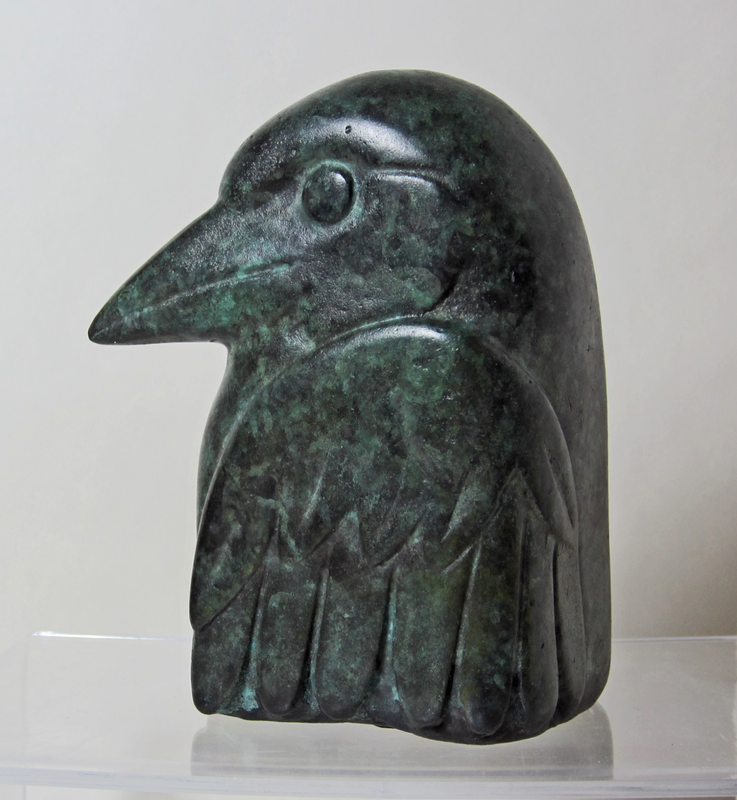
More interesting head carvings found online (above). Another maquette is called for!


 RSS Feed
